Baking Sourdough at Home — The Right Way
Master the art of fermentation and achieve bakery-quality loaves without special equipment or years of practice
Why Sourdough Matters
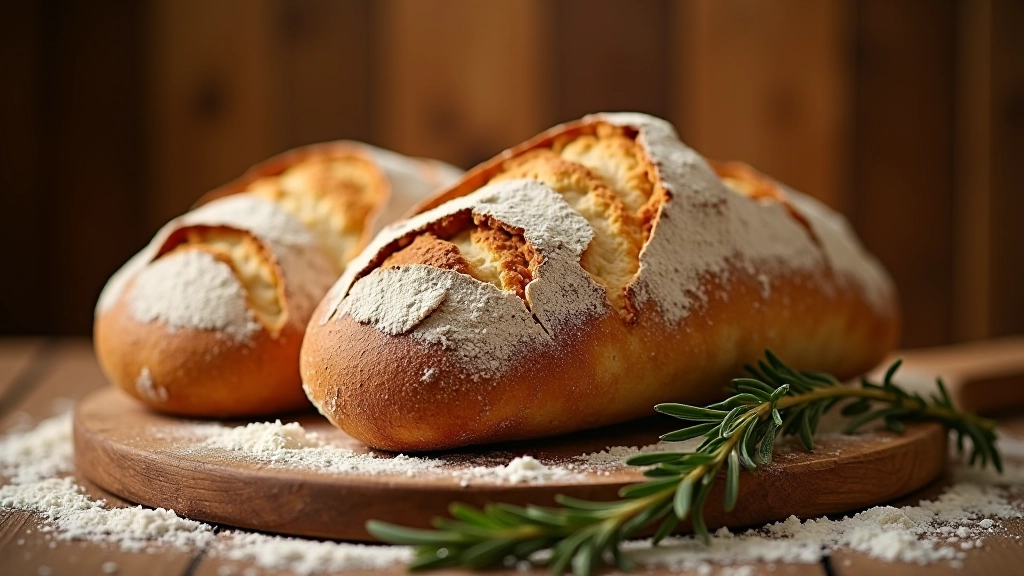
There’s something magical about pulling a crusty, tangy loaf from your own oven. Sourdough isn’t just bread — it’s a living project that rewards patience and teaches you how fermentation transforms flour, water, and salt into something extraordinary.
The thing that surprises most home bakers? You don’t need a professional kitchen, fancy Dutch ovens, or a culinary degree. What you need is time, understanding, and honestly — a bit of curiosity about what’s happening inside the dough.
This guide walks you through building your starter, managing fermentation timing, and achieving that perfect crust. We’ll focus on technique over equipment, so you can bake great sourdough wherever you are.
Building Your Starter from Scratch
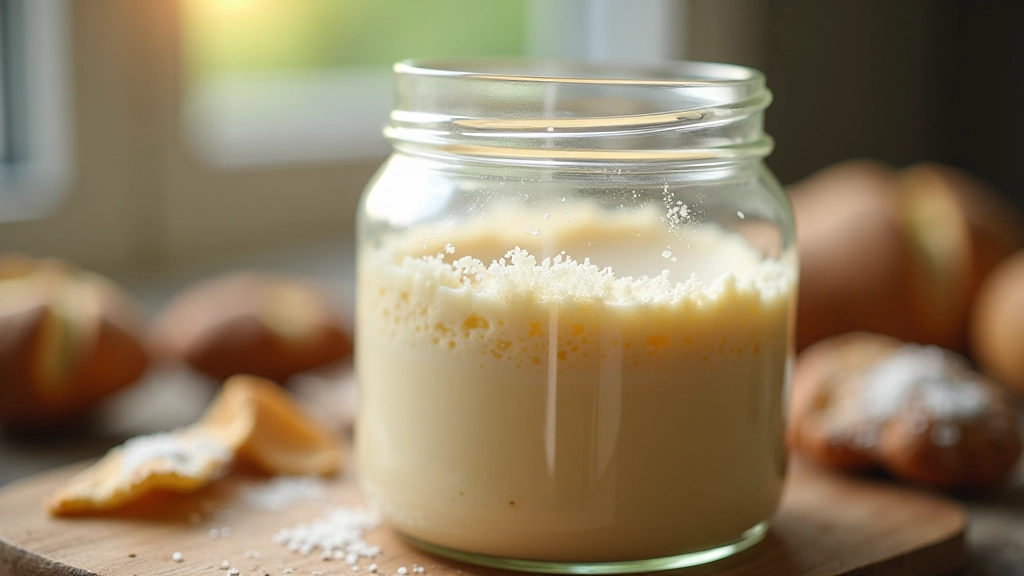
Your starter is a living culture of wild yeast and bacteria that’ll become the leavening agent for your bread. You’re not creating anything fancy — just creating the right environment for these microorganisms to thrive.
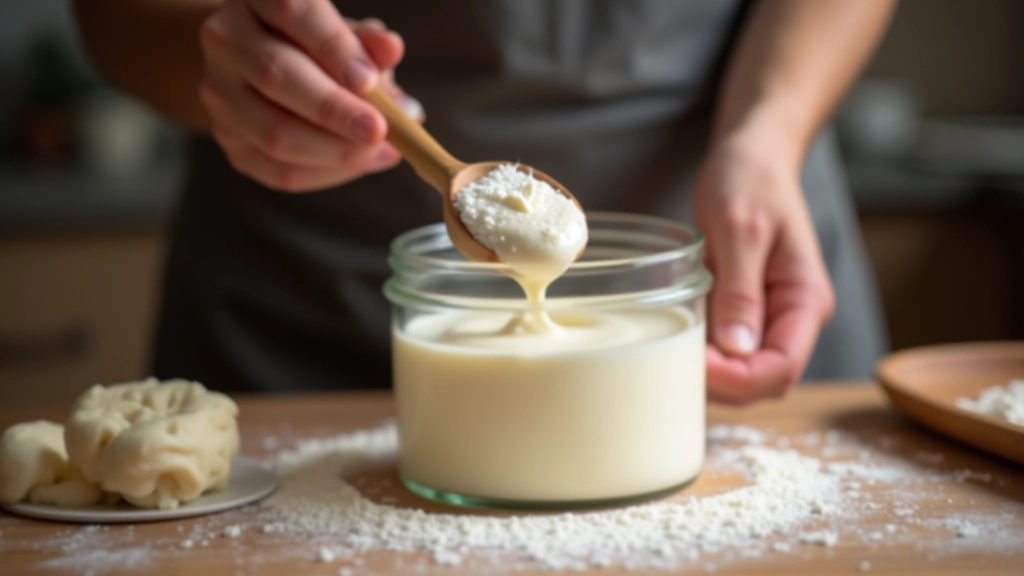
Here’s what you’ll do: Mix equal parts flour and water (start with 50g each). Leave it at room temperature. Every day, discard half and feed it again with the same ratio. By day 5-7, you’ll notice consistent bubbling and a pleasant sour smell. That’s your starter becoming active.
Feeding Schedule That Works
- Days 1-3: Daily feeding, room temperature (68-72F)
- Days 4-7: Daily feeding, consistent bubbling appears
- Day 8+: Starter ready when it doubles within 4-8 hours of feeding
Once it’s doubling predictably, you’ve got a healthy starter. The entire process takes about a week — not instant, but straightforward. You’re watching wild yeast colonize flour, which is genuinely interesting if you think about it.
Understanding Fermentation Timing
Fermentation is where the actual sourdough magic happens. Your dough isn’t just sitting there — wild yeast is producing gas bubbles while bacteria create organic acids that give sourdough its tangy flavor and open crumb structure.
Temperature controls everything. At 75F, bulk fermentation takes about 4-5 hours. At 65F, you’re looking at 6-8 hours. Colder than that? You can do an overnight cold fermentation (12-18 hours in the fridge), which actually develops more flavor. The bacteria work slower at cold temperatures, which means more sour notes develop.
Signs of Good Fermentation
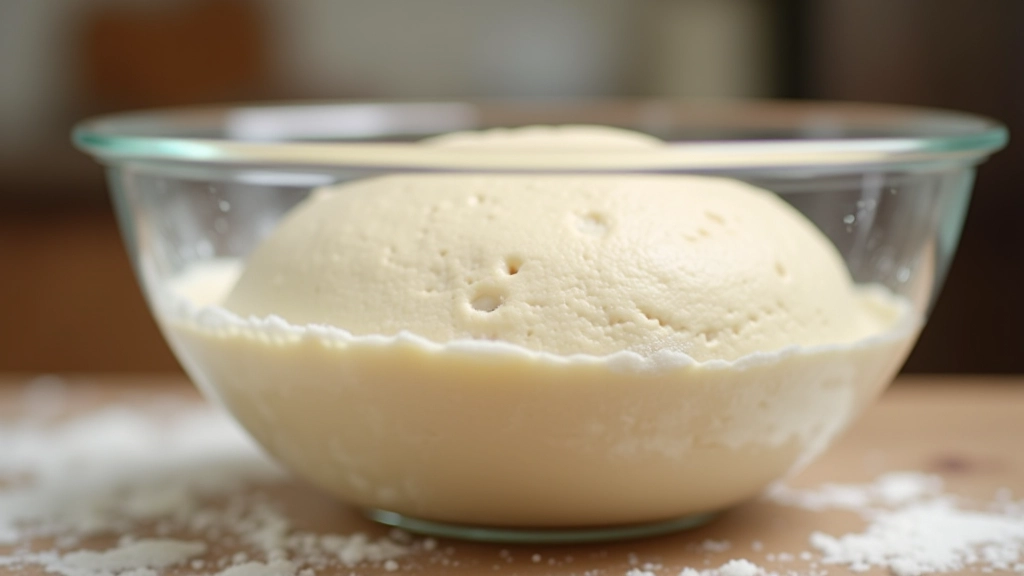
- Dough increases by 50-75% in volume
- Surface shows visible bubbles (not just smooth)
- Dough feels jiggly when you gently move the bowl
- Poke test: finger leaves an indent that springs back slowly
Don’t obsess over exact timing. Your dough isn’t following a recipe — it’s responding to temperature and humidity in your kitchen. The poke test is your best friend here. If the indent springs back halfway, you’re in the right zone. If it springs back completely, fermentation needs more time. If it doesn’t spring back at all, you’ve probably overproofed.
Shaping and Final Proof
After bulk fermentation, your dough is gassy and loose. Shaping does two things: it creates surface tension (which helps the dough rise up instead of spreading out), and it redistributes the gas bubbles for better oven spring.
You don’t need special skills here. Gently flip the dough onto a lightly floured surface. Fold the edges toward the center, rolling it toward you as you go. You’re creating tension, not compressing the dough. The goal is a taut, smooth surface.
Place it seam-side up in a banneton basket (or a bowl lined with a floured kitchen towel). Now comes the final proof — either 2-4 hours at room temperature, or overnight in the fridge. Cold fermentation here is actually preferred by most bakers. It’s easier to score, develops more flavor, and you can bake on your own schedule.
Oven Spring Success
Oven spring is that sudden expansion that happens in the first 10-15 minutes of baking. A well-proofed dough with good surface tension creates dramatic oven spring. Your loaf literally springs up in the oven because the heat causes gases to expand before the crust fully sets.
Scoring, Baking, and That Perfect Crust
You don’t need a Dutch oven, though many bakers use one. What you need is steam in the first part of baking. Steam keeps the crust flexible while the dough expands, then escapes near the end to create that crackling crust.
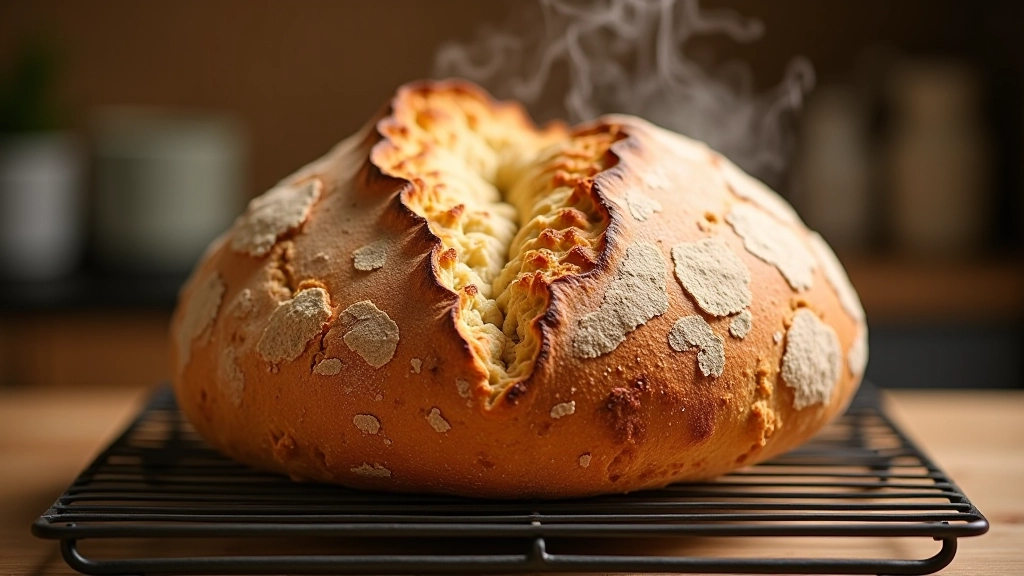
Here’s the simple version: Preheat your oven to 450F with a cast iron skillet on the bottom rack. When you’re ready to bake, place your dough on a piece of parchment paper. Score the top with a sharp knife (one deep slash, or an X pattern — whatever you like). Slide it into the oven on the parchment. Immediately pour a cup of hot water into the skillet below. Bake covered with foil for 20 minutes, then uncovered for another 20-25 minutes until deep golden brown.
Why Cooling Matters
This is the part most home bakers skip, and it’s a mistake. Your crust is still setting as the loaf cools. If you slice into it while it’s hot, the crumb is gummy. Wait at least 30 minutes — ideally an hour — before cutting. The crumb will have a better structure, and you’ll actually taste the flavor properly.
You’ve just made real sourdough. The whole process — from starter to finished loaf — takes about a week of active work spread across multiple days, with lots of waiting in between. That’s not a flaw. That’s exactly how it should be.
Your Sourdough Journey Starts Now
Sourdough rewards attention and patience, but it doesn’t require obsession. You’re working with living culture, temperature, time, and technique. Once you understand how these pieces fit together, you’ll bake loaves that are genuinely better than most bakeries.
The first few loaves won’t be perfect. That’s normal. You’re learning how your starter behaves, how your kitchen temperature affects fermentation, how your oven bakes. After 5-6 loaves, you’ll start seeing consistency. After 10, you’ll have confidence.
And here’s the thing — there’s a community of sourdough bakers who genuinely love talking about this stuff. If you get stuck, if your starter seems sluggish, if your crumb is too dense — there are people who’ve solved the exact problem you’re facing. Sourdough baking connects you to something real: fermentation, chemistry, craft, and the simple pleasure of good bread.
Disclaimer
This article provides educational information about sourdough baking techniques and fermentation processes. Results depend on your specific kitchen conditions, ingredients, and equipment. Every oven and environment is different — your timing may vary. This guide is informational and should not replace professional baking instruction if you’re taking formal classes. Always follow food safety guidelines when working with fermented products.
Related Articles